
Shooting in direct sunlight – Hot tips
Shooting in hard, direct sunlight — what it gives you (and takes away)
You know the old photographer’s adage: “Shoot in the golden hour. The light is beautiful. Shoot in open shade. The light is soft and flattering.”
It’s become dogma for many happy snappers, that we turn a blind eye to the possibilities of shooting in light that’s harsher, harder, more direct.
Let me change your mind.
Yes, full, hard sunlight — the kind you get on a bright summer’s day — is famously unforgiving. It throws small, crisp, razor-edged shadows, creates fast roll-off from highlight to black, and delivers colour saturation that can either sing or blow out, depending on your exposure.
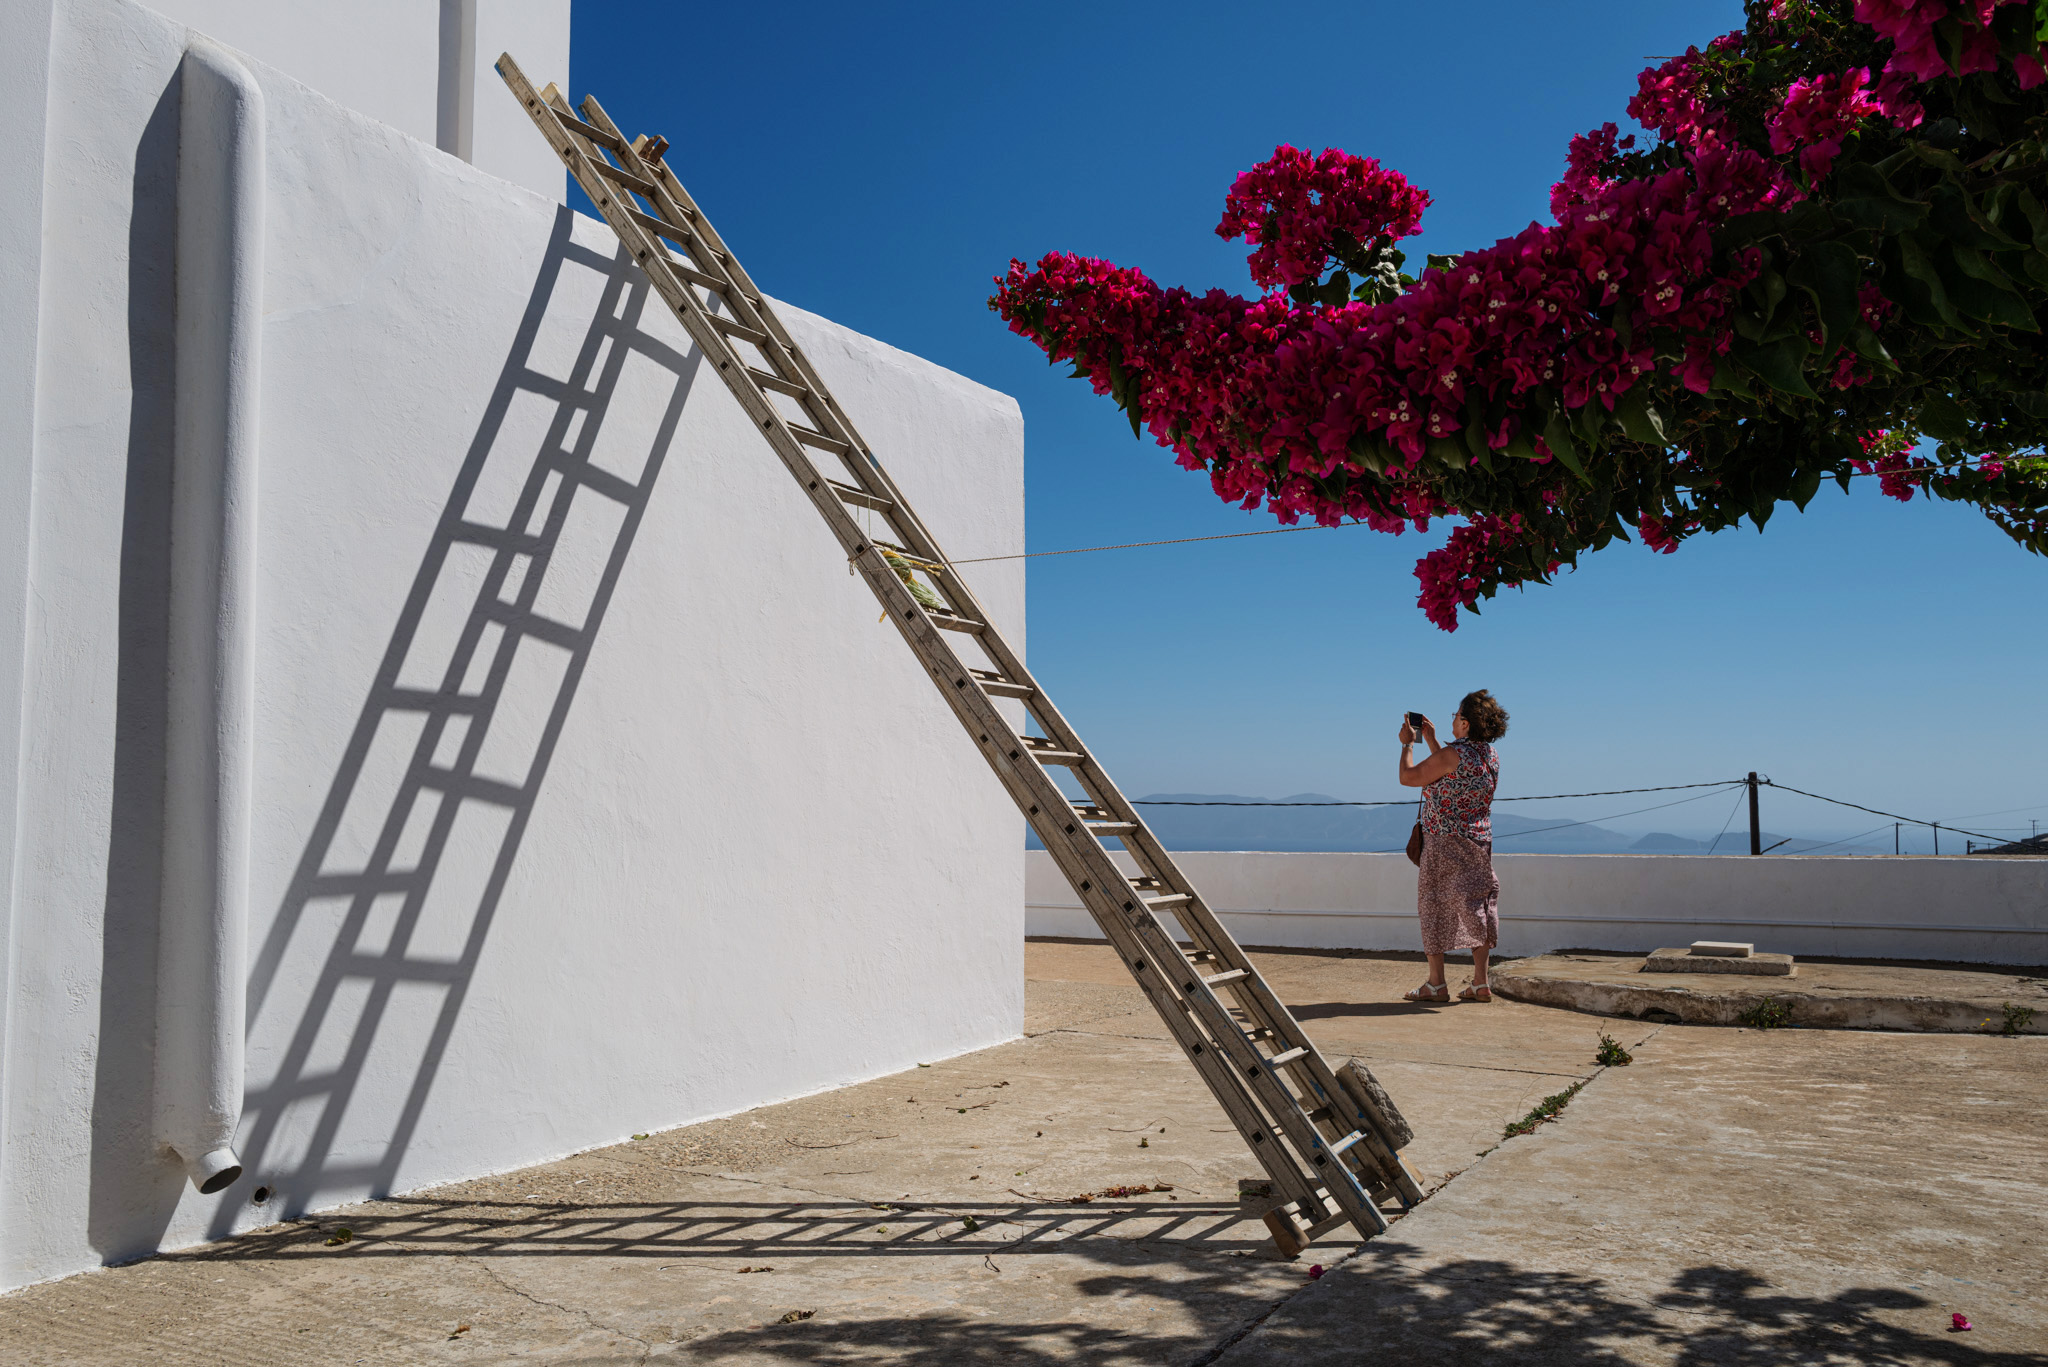
The cons are obvious: flattened mid-tones, burned highlights, harsh speculars on skin, and deep noir-like shadow that hides detail. But these “flaws” can become powerful aesthetic tools when seen and used right. Hard light simplifies scenes into flat planes and blocked shapes, exaggerates texture (skin, sand, corrugated metal, limestone), and produces graphic shapes that suit a wide range of photography: portraiture, landscapes, urban studies, abstracts, and minimalist geometry.
And yes — using hard, direct light is counter-intuitive to the advice that we’ve been given about the “best” light. But sometimes, you have to be a bit of a renegade: going out at 10.30am to the beach in the height of summer is how you learn that light is not “good” or “bad”; instead, it’s about how you use it, regardless of time of day or weather conditions.
Hard, direct sunlight can be a character with its own attitude. Armed with an understanding of how small-source hard light behaves — you can make images that are stark, graphic, sculptural and impactful.
Case in point: Max Dupain’s iconic picture of the Sunbaker.
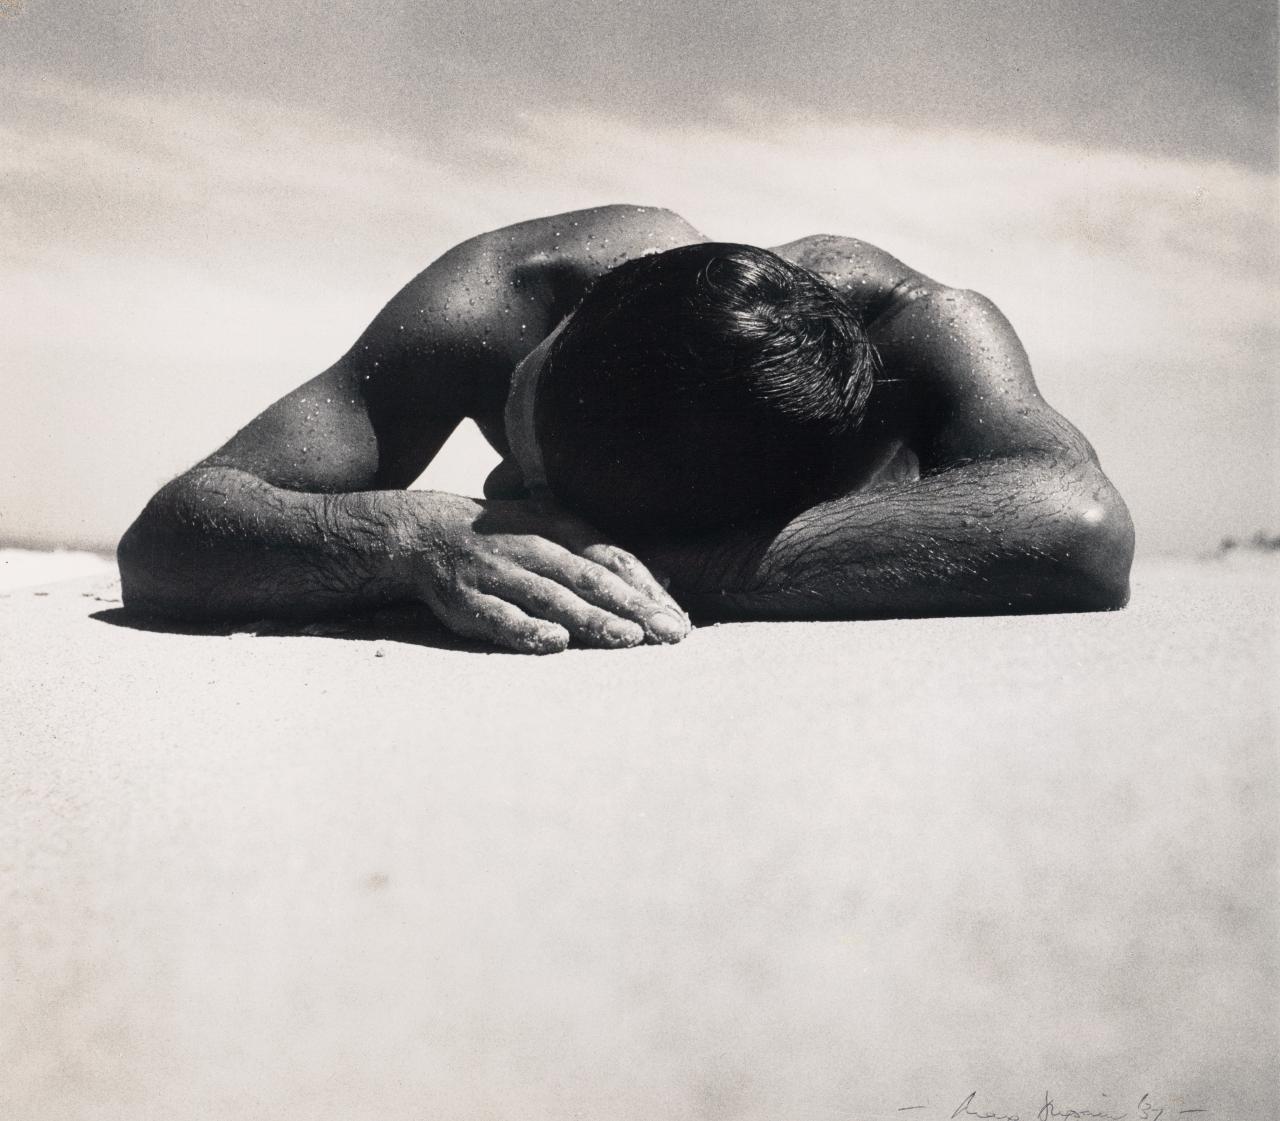
Shot in 1937, Dupain’s image of a young man lying sun-drenched on Culburra Beach in New South Wales, has become one of Australia’s most recognised images. Dupain could have shot this so many ways, but a deliberate choice ot shooting almost at ground level creates negative space (the bright sunlit sand) that pushes our gaze to the sunbaker who dominates the landscape. Shooting close to the ground also emphasises shadows that keeps the subject anonymous and allows for the hard top sunlight to sculpt the form of the young man. If you ever need convincing that hard light works, then this is it.
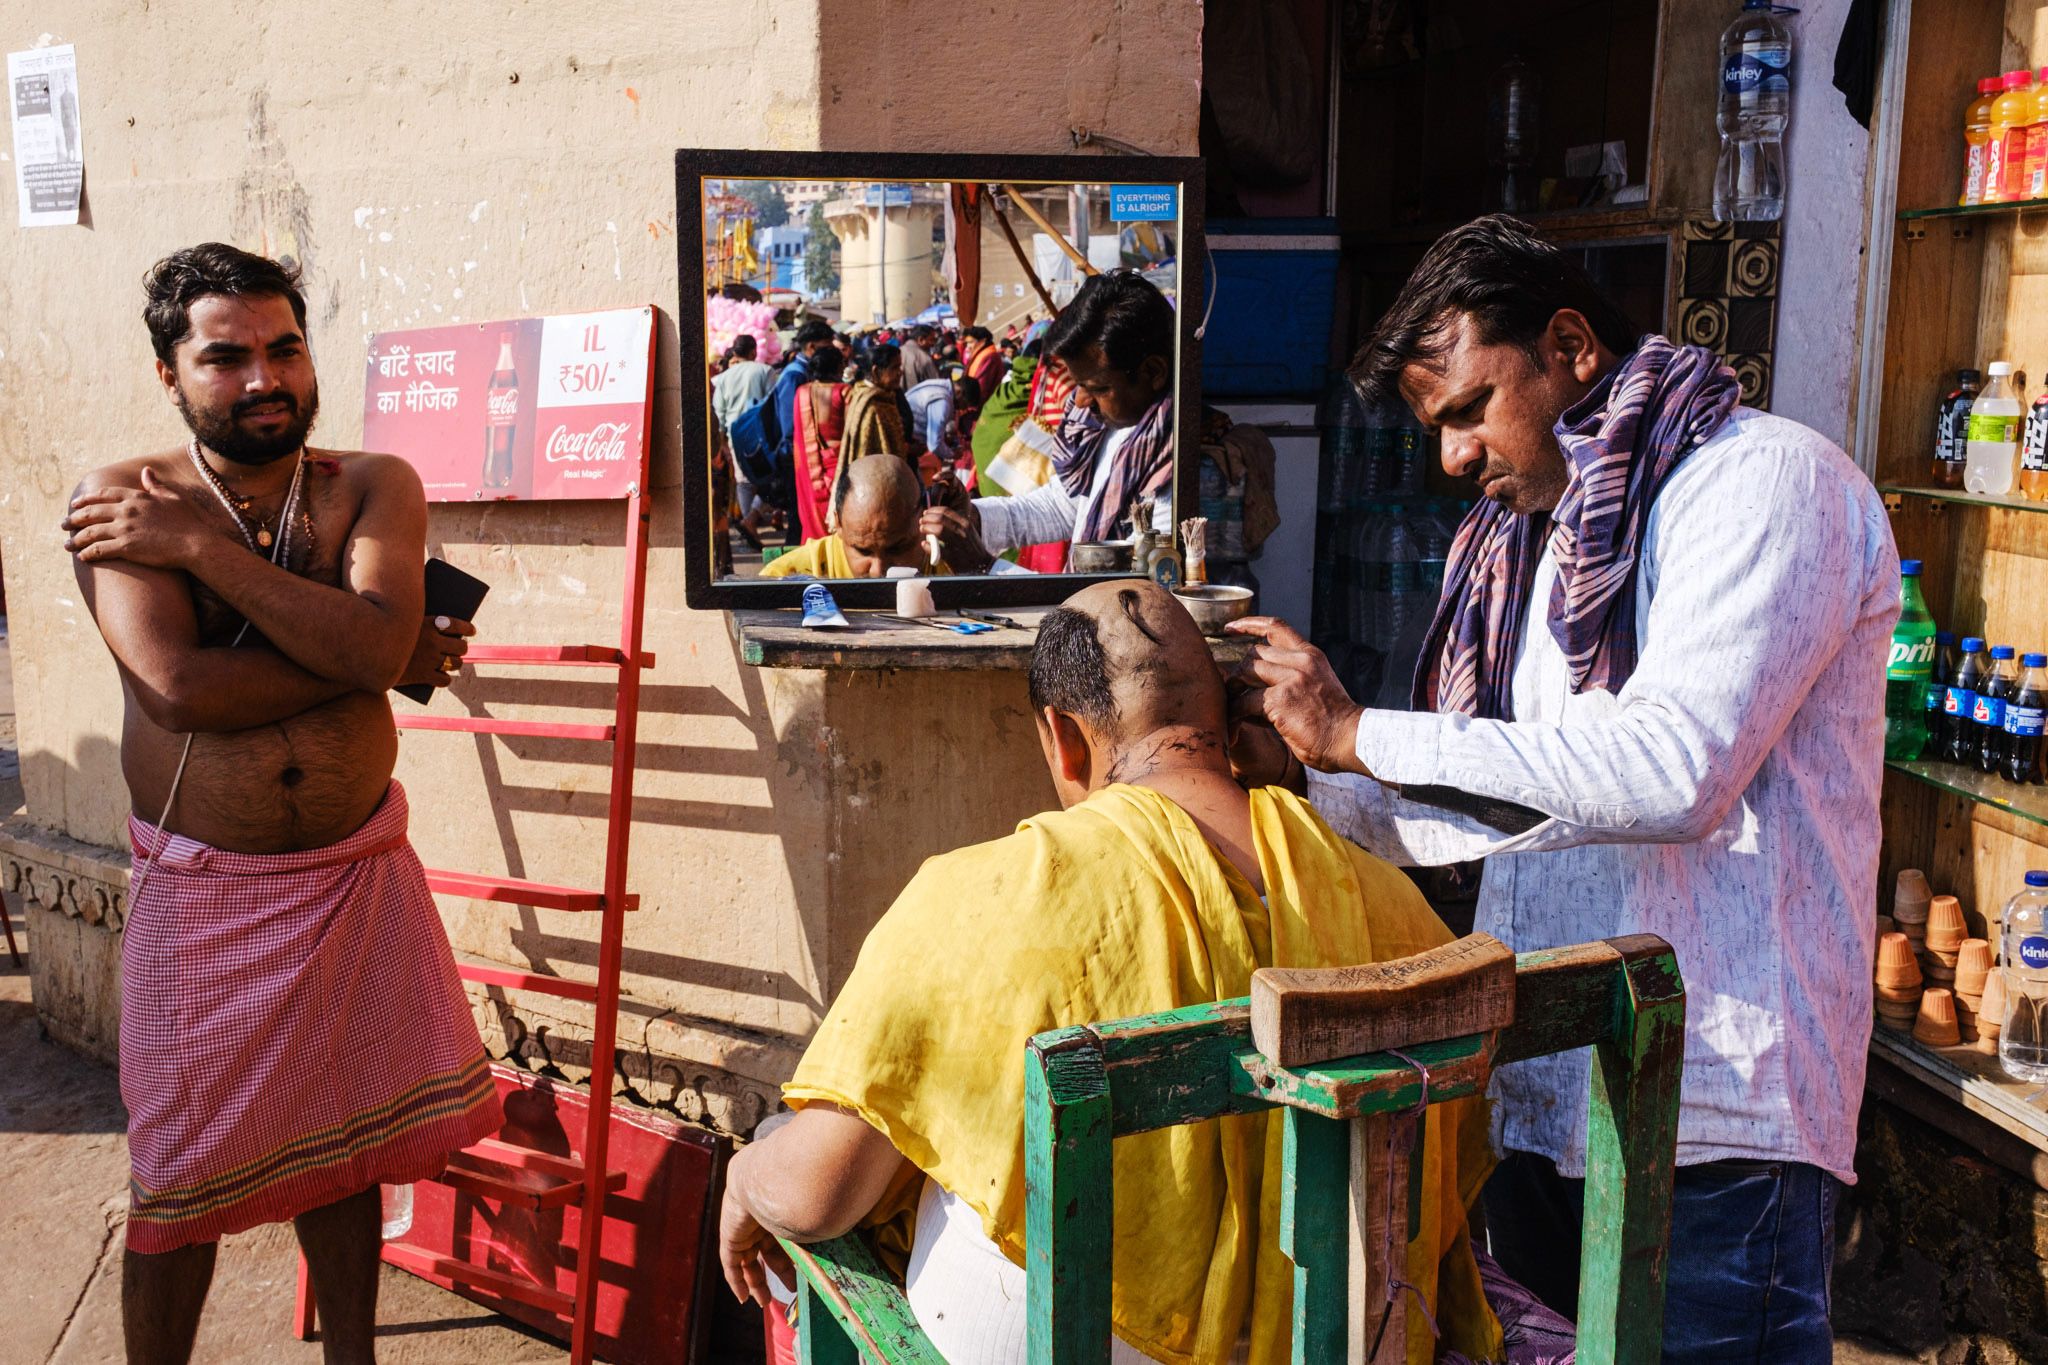
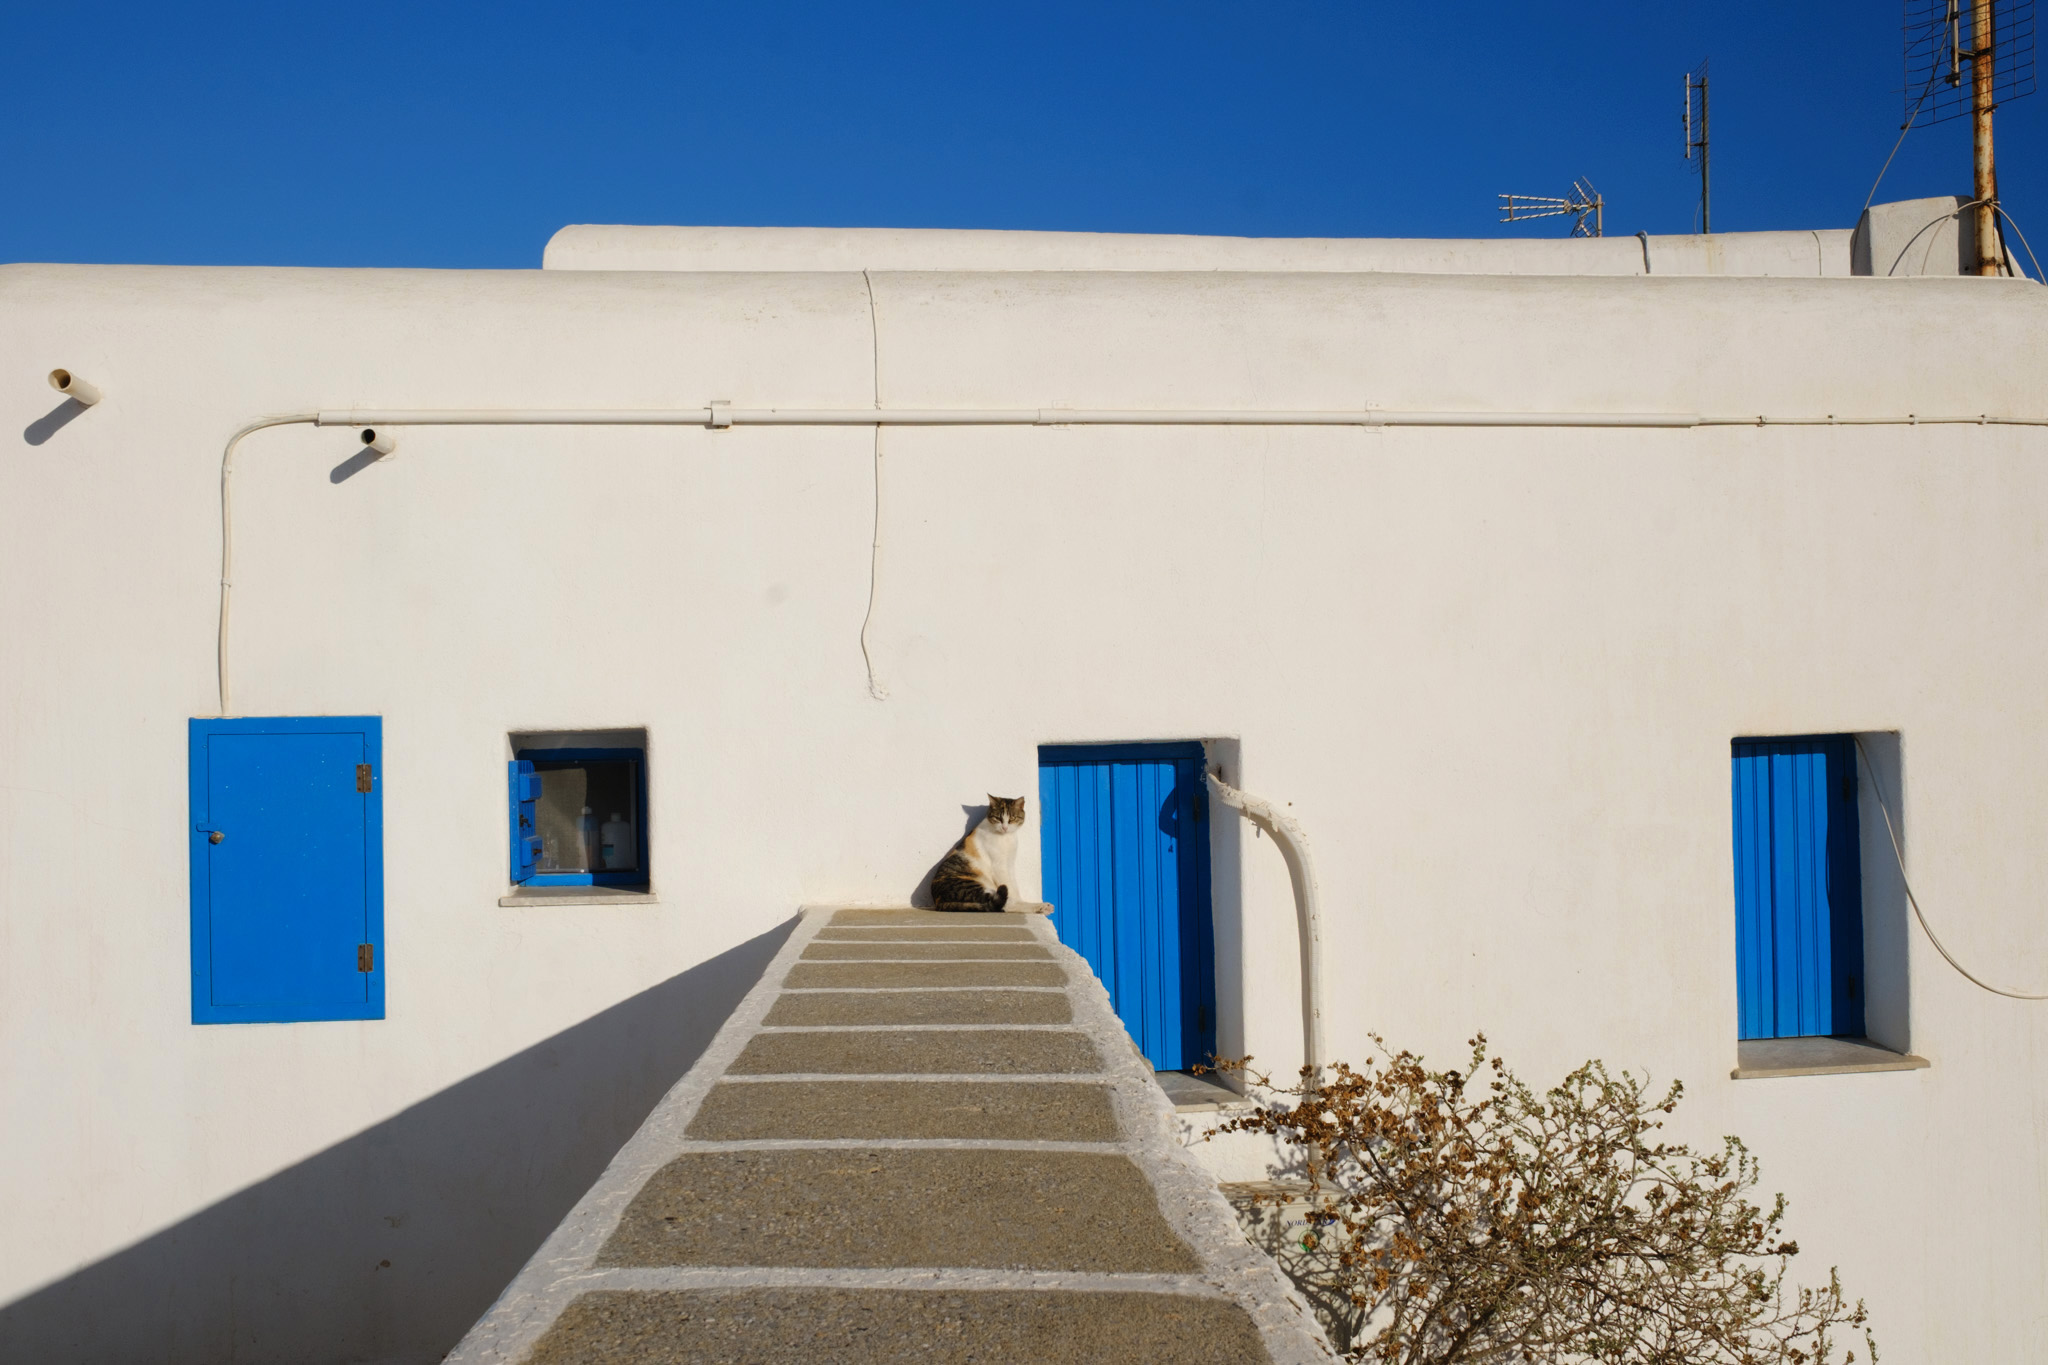
Used deliberately, hard sun can give portraits a taut, cinematic contour (rim-lit shoulders, hard nose shadow), produce punchy saturated beach documentary frames, or strip scenes down into pure form — one bright wedge of light across bitumen, or one human figure in a lane, everything else rich black.
Minimalist and abstract shooters can create work that is closer to drawing than “photography” — a graphic field of dark + bright.

Working with hard light
- Protect highlights — expose for the bright bits, not shadows. In fact, let the shadows go to black.
- Fill modestly — if you have a flash, put it on. It can fill shadows just that little bit and give your images a pop of light.
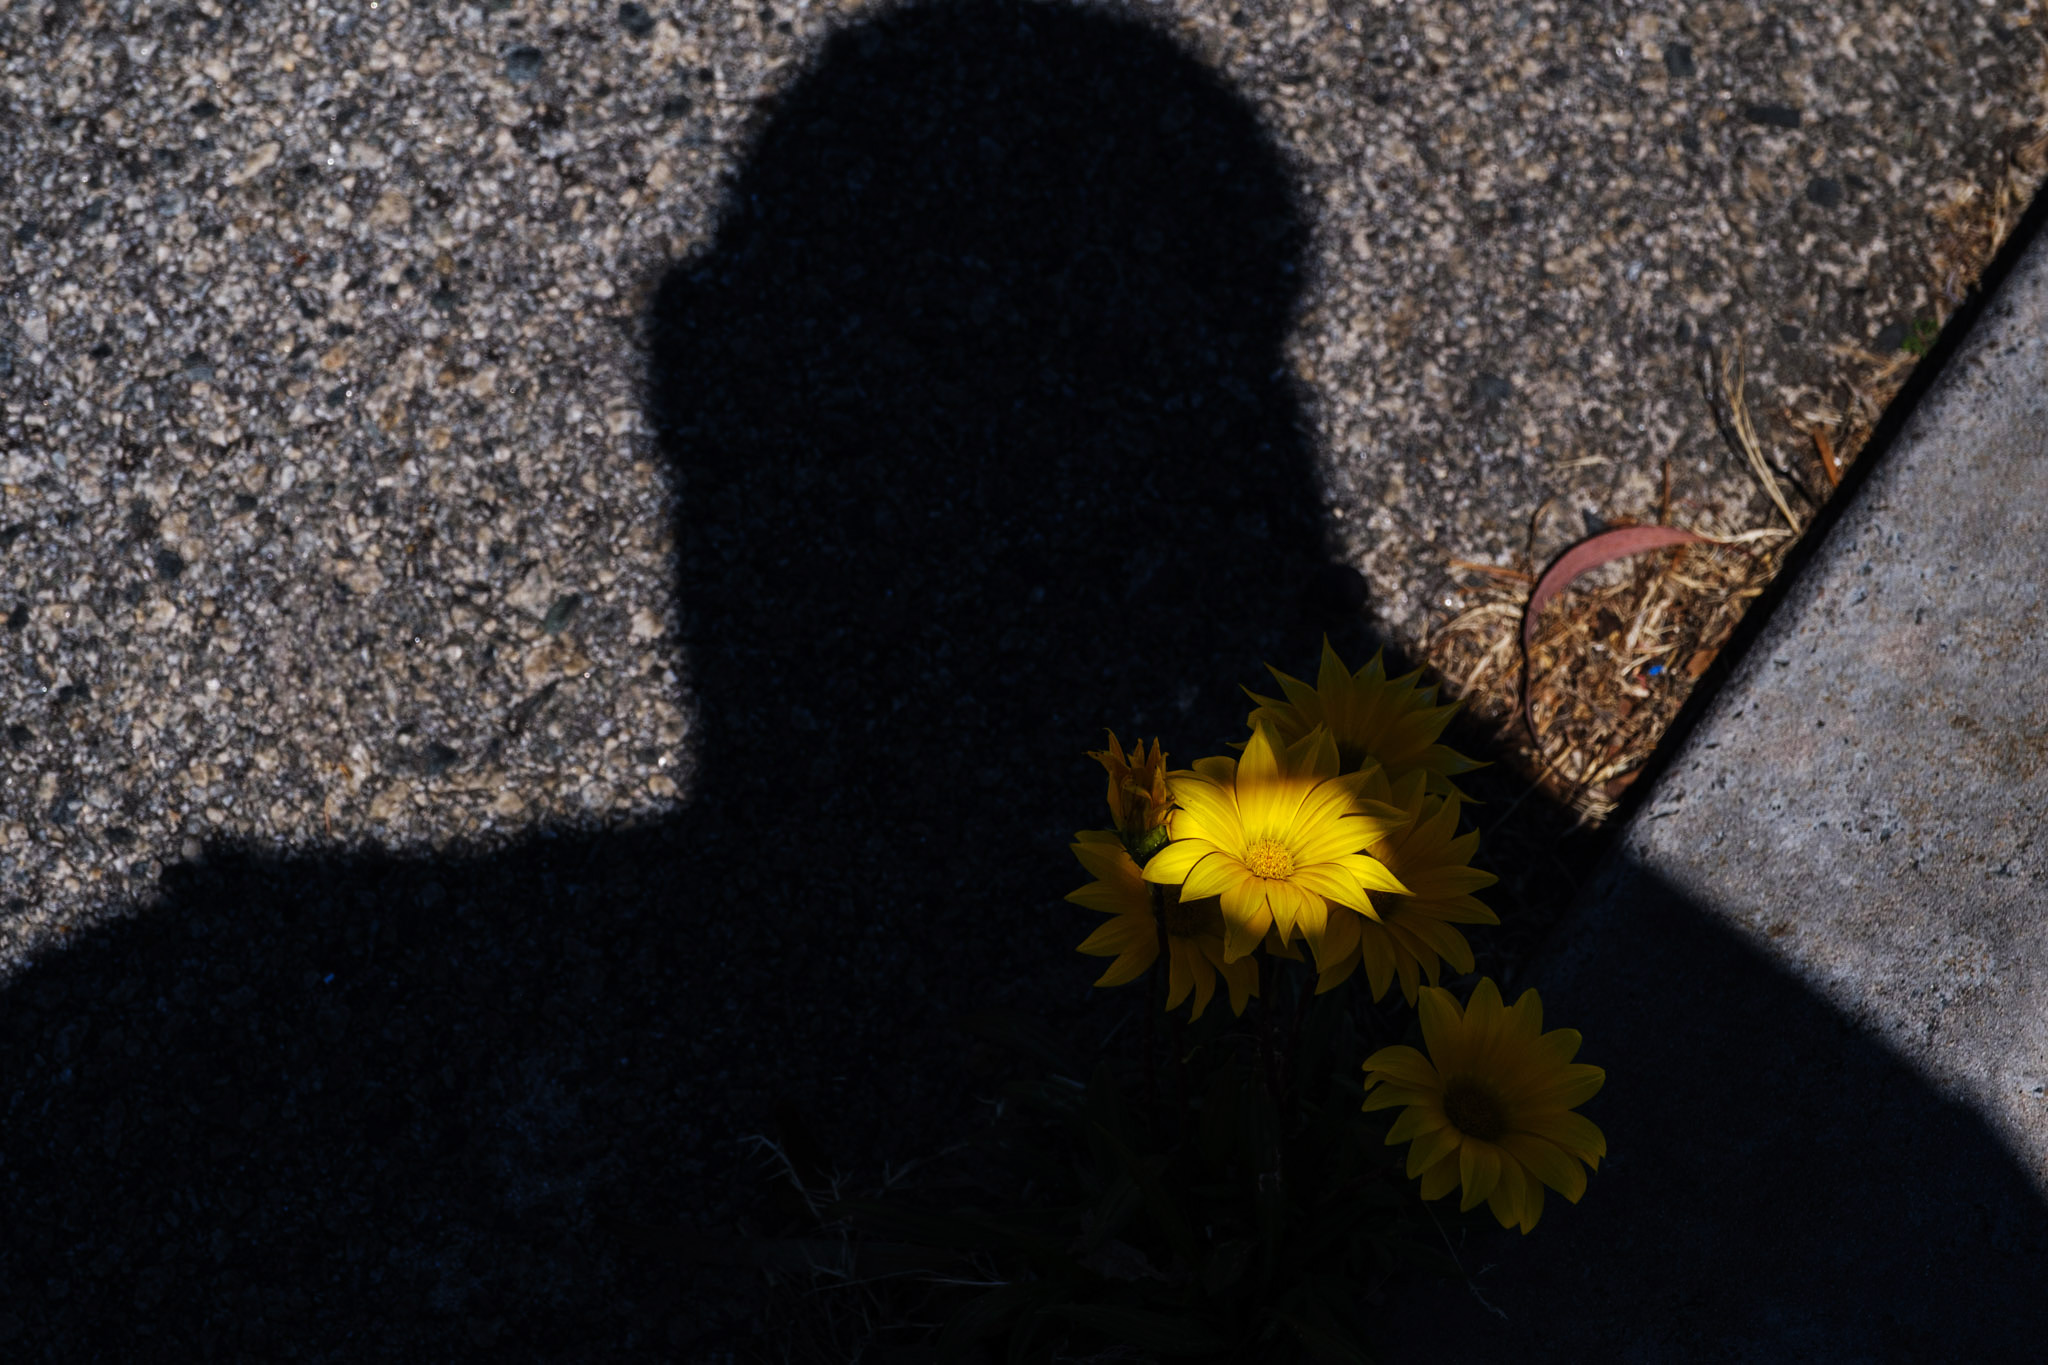
- Embrace shadow — hard blacks can create negative space to push the viewer’s eye to your subject which sits in the light.
- Use a circular polariser to bring out vivid colours and to cut out glare and reflections (useful when shooting around water).
Where to shoot hard lit scenes?
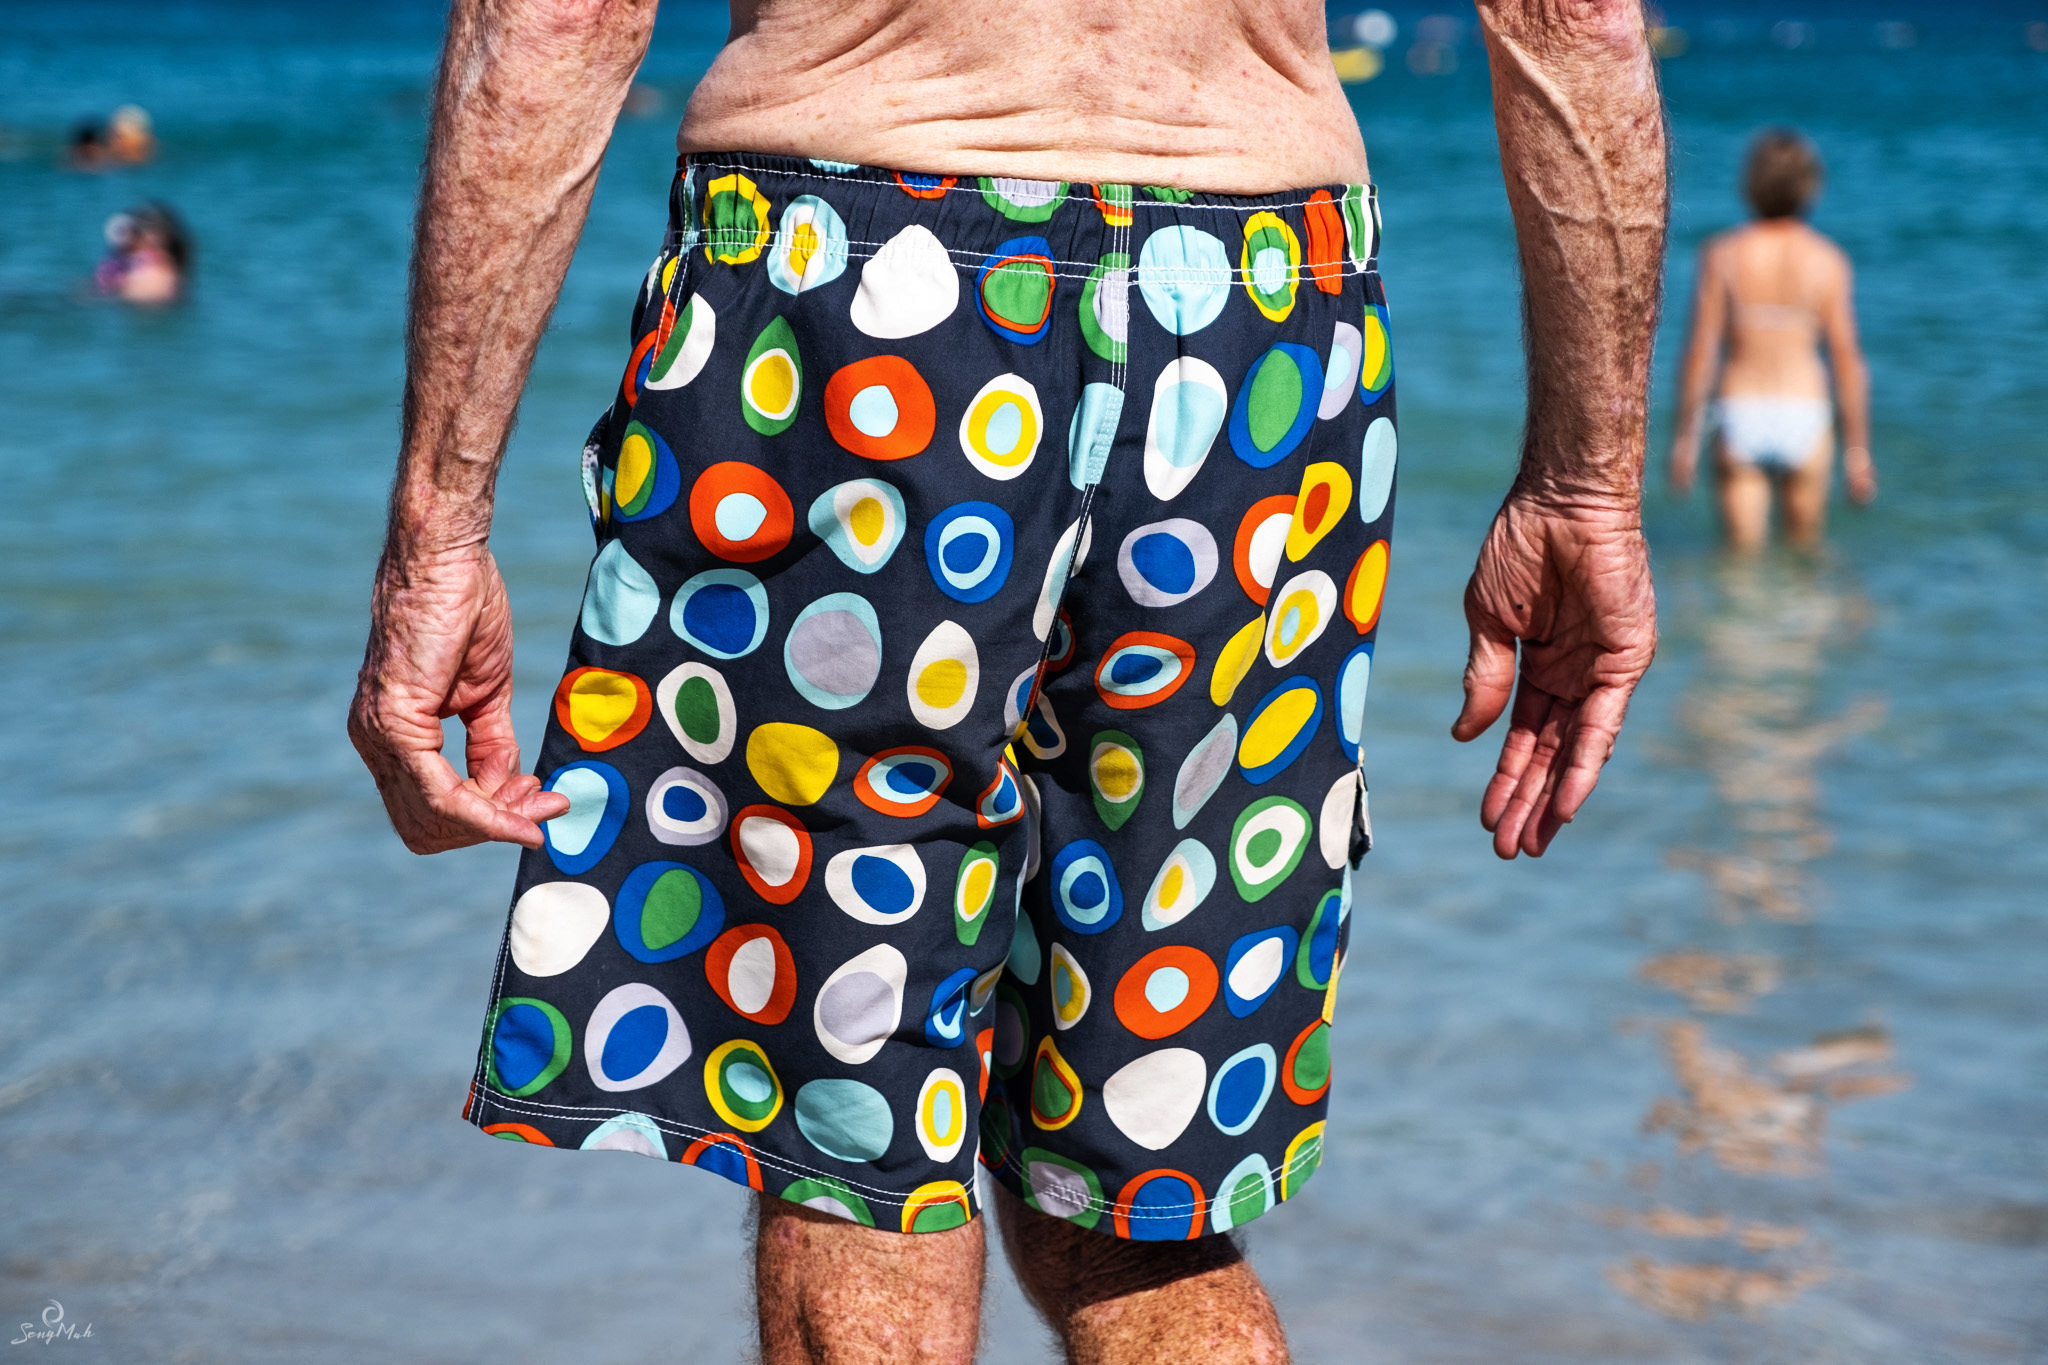
The beach in summer; sand dunes
Why: open sky, reflective sand and water, hard high sun.
How to use it: shoot low (like Dupain) to emphasise the sun’s modelling on bodies and textures; expose for highlights to keep the sky and sand from blowing out, or expose for skin to create silhouette shapes against bright sand. Use a short focal length for environmental portraits and to include sky, sand and sea as negative space. Consider polariser to reduce glare on water and to enhance colour.
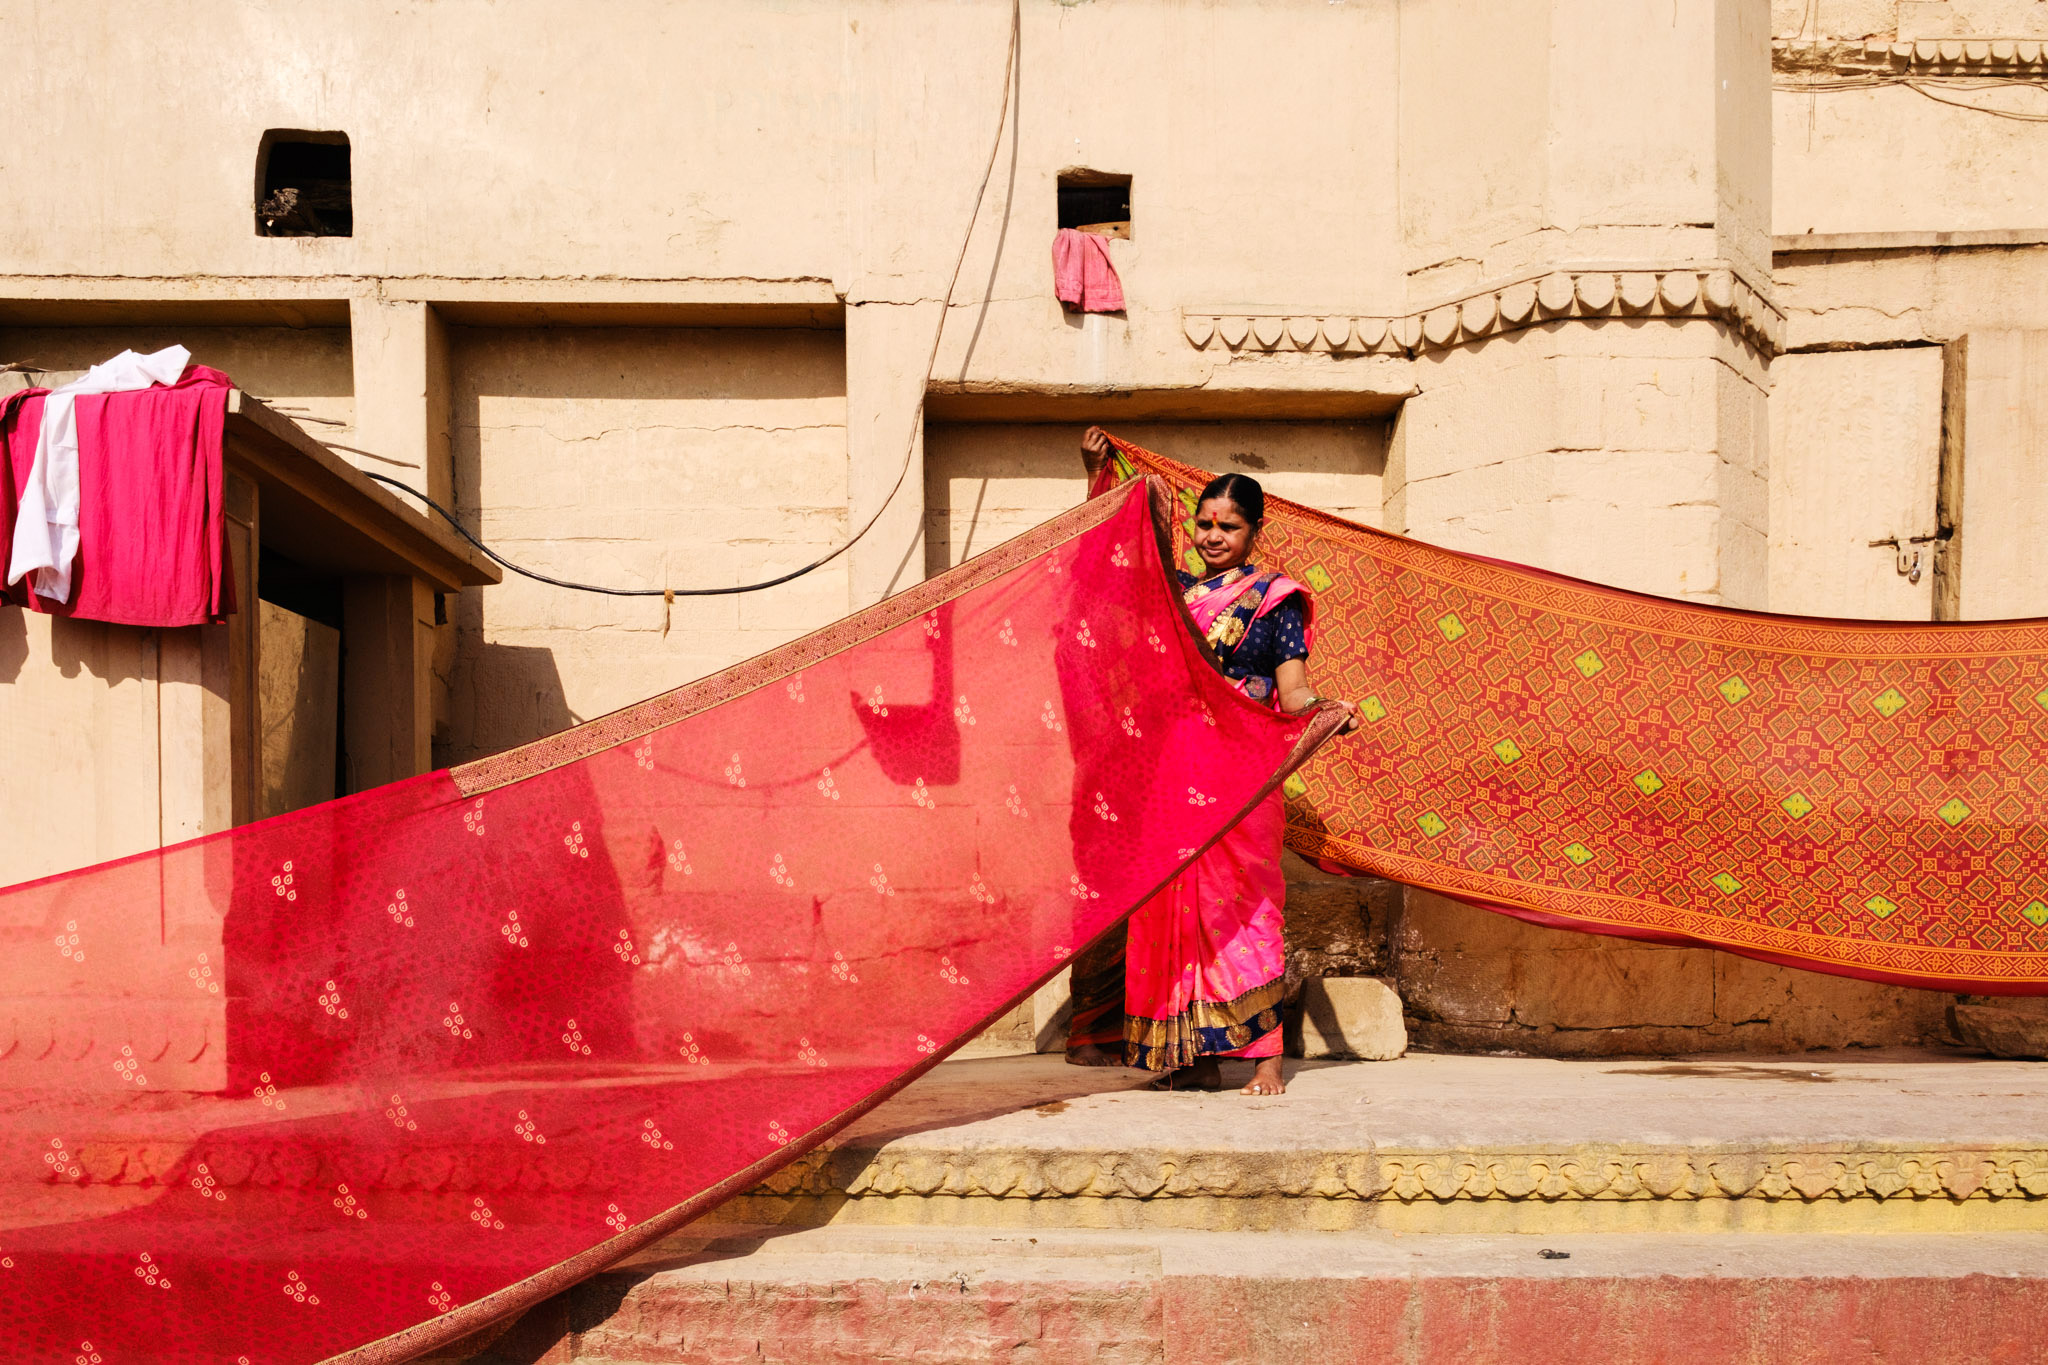
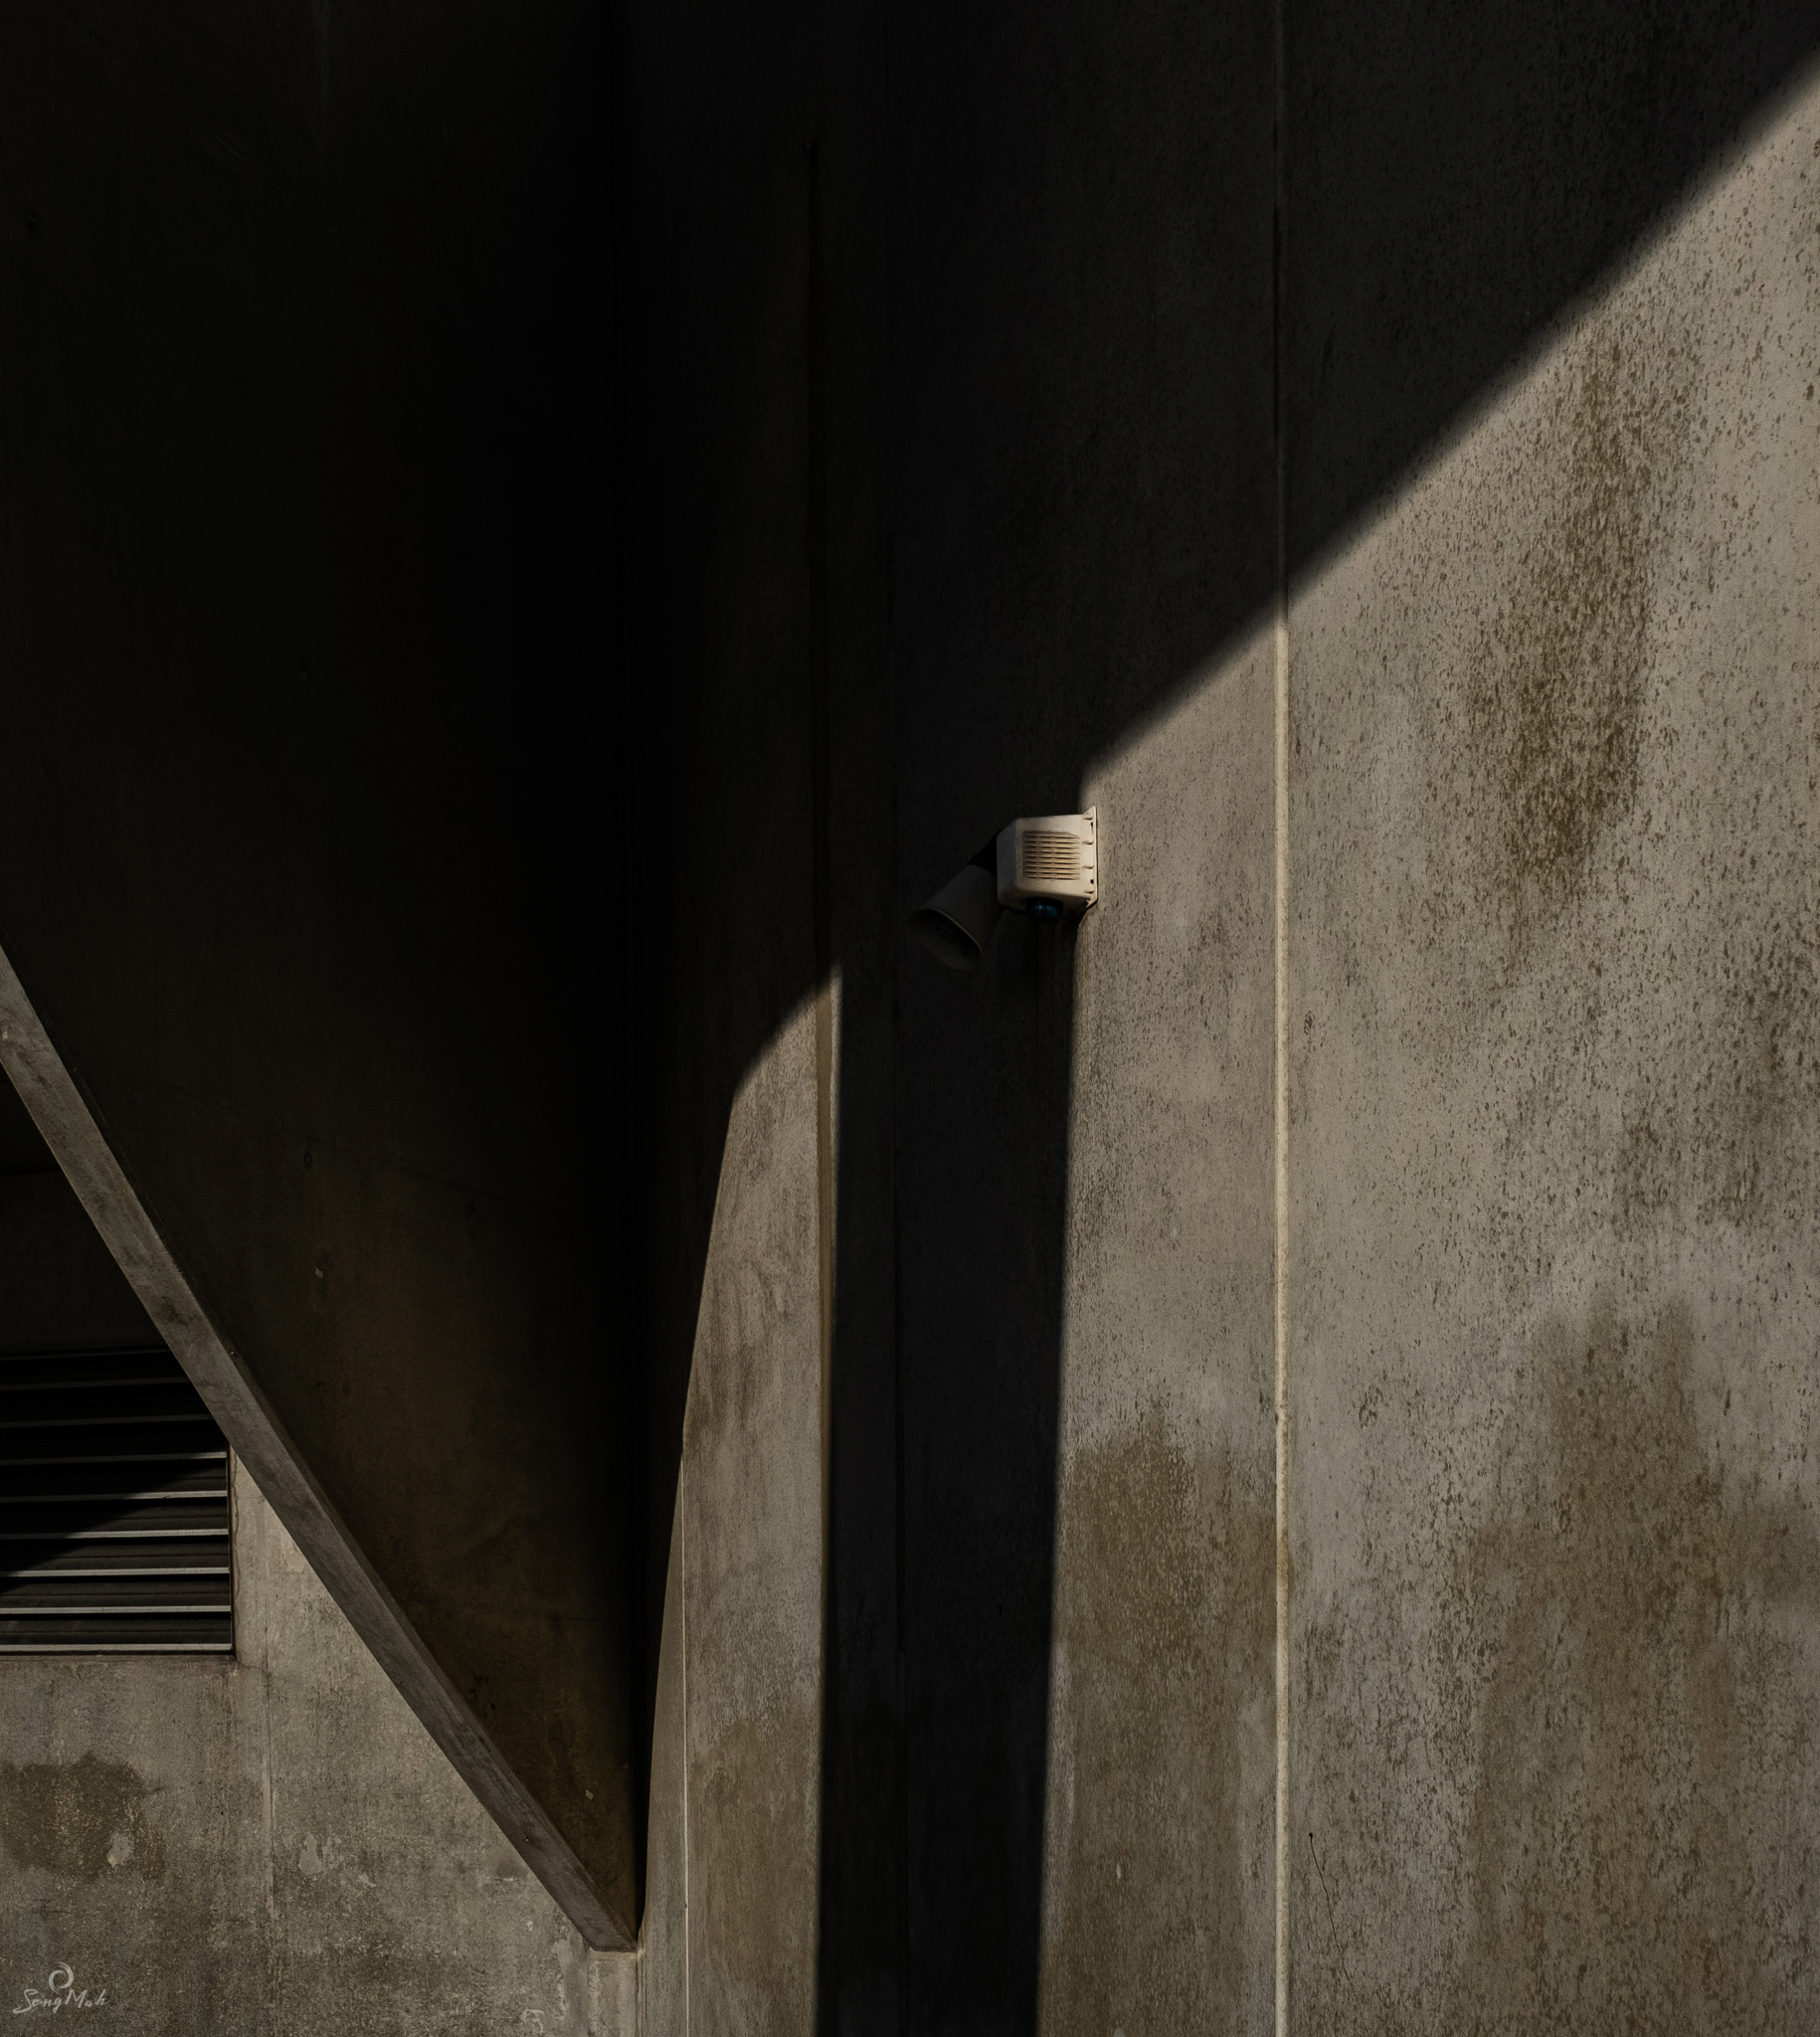
City streets, lanes and arcades when the sun is high
Why: hard sun + architectural geometry = crisp, graphic shadows.
How to use it: look for high-contrast patterns (railings, stairwells, window grates). Shoot mid-morning or early afternoon when shadows from buildings form strong diagonals; underexpose slightly to deepen blacks and preserve highlight colour. Use the contrast to create minimalist compositions — a single subject in a wedge of light works beautifully.
Open roads, coastal plains
Why: long sight-lines and hard sun accentuate distance and colour saturation.
How to use it: keep compositions simple; try high shutter speeds and small apertures to get everything sharp, and use negative space to emphasise scale.
Rooftops and elevated vantage points
Why: clean horizon, unobstructed sun, strong rim light.
How to use it: shoot silhouettes at midday for graphic shapes; or expose for highlight detail and let foreground go black for a minimalist statement.
No Comments