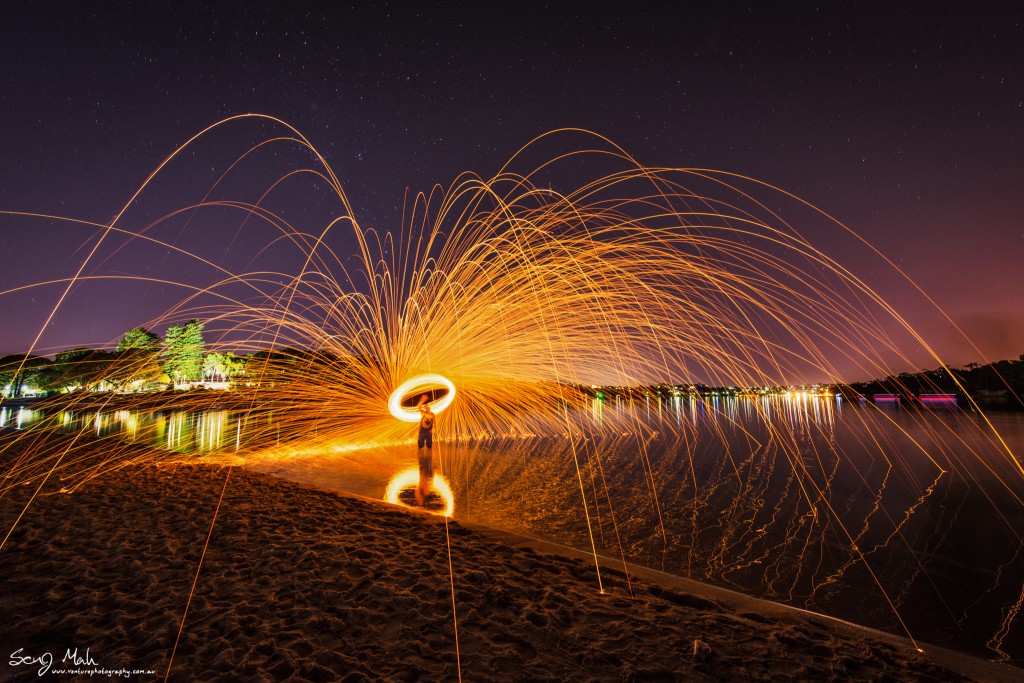
Tutorial: Blending Light Painting and Ambient Exposure
For some reason, I’ve been photographing quite a bit of light painting lately — usually steel wool spins, which are awesome because they remind me of fireworks. It could well be that my mate, Shane Taylor, who is quite into light painting, has been asking me to join him at various night time photo shoots.
The thing with photographing light painting is that you need to set your aperture and ISO to obtain an exposure for the painted light, eg. the wool spins. In most cases, this is around f7.1 / f8.0 at ISO100 or ISO200. Even at a 30 second exposure, you’ll find that these values aren’t enough to capture the ambient light in the surroundings (unless there is a full moon out), so most light painted frames tend to have the light trail in a field of inky darkness.
You could, of course, ramp your shutter speed to Bulb exposure and keep the shutter open for much, much longer, but that’s just going to eat into your shooting time. So, the next best thing is to expose for the light painting event first, and then, without changing the position of your camera, to grab an exposure set for the ambient. Then, it’s just a case of blending both exposures together in post.
But how? Well, check the video tutorial I’ve prepared below to find out how you can do this. Note: You’ll need to have some basic proficiency in Adobe Lightroom and Adobe Photoshop to get the most out of this tutorial.
And here are some of the results of the night’s shooting at Point Walter in Bicton – all these images are created by blending two exposures: one for the spin and one for ambient.


No Comments